With all this automation taking place, I’m getting lazier by the day. Even having to unlock my phone and open the bookmark for SmartVISU to activate a mood scene it taking too long / requiring too many actions.
Since Apple added HomeKit with its iOS 8, there’s now a way to integrate this with DomotiGa so I can control my devices with Siri! Yes voice control is finally here 😎
This is how it’s done. Note: this assumes you have DomotiGa already set up and running and know your way around Linux.
Installation
Installing on a Raspberry Pi? do this first:
sudo apt-get update && sudo apt-get upgrade
sudo apt-get install libkrb5-dev
You’ll also need the Avahi package:
sudo apt-get install libavahi-compat-libdnssd-dev
Homebridge is published through NPM, if npm isn’t yet installed on your system, do this first:
sudo apt-get install curl
curl -sL https://deb.nodesource.com/setup_0.12 | sudo bash -
sudo apt-get install -y nodejs
Then install HomeBridge “globally” by typing:
sudo npm install -g homebridge
Then install the DomotiGa plugin (Thanks Samfox2):
sudo npm install -g homebridge-domotiga
Now that HomeBridge and DomotiGa plugins are installed you need to add your own config file. Create a file called config.
NOTE: Your config.json file MUST live in your home directory inside .homebridge.
You can start by copying / pasting the below sample and update to reflect your setup:
{
"bridge": {
"name": "DomotiGa",
"username": "CC:22:3D:E3:CE:32",
"port": 51826,
"pin": "031-45-154"
},

"description": "This is an example configuration file with one fake accessory and one fake platform. You can use this as a template for creating your own configuration file containing devices you actually own.",

"accessories": [
{
"accessory": "Domotiga",
"name": "Sensor garden",
"host": "localhost",
"port": "9090",
"service": "TempHygroMeter",
"device": "81",
"valueTemperature": "1",
"valueHumidity": "2",
"valueBattery": "4",
"lowbattery": "3000"
},
{
"accessory": "Domotiga",
"name": "PC",
"host": "192.168.0.xxx",
"port": "9090",
"service": "Contact",
"device": "77",
"valueContact": "1",
"valueBattery": "2",
"lowbattery": "3000"
},
{
"accessory": "Domotiga",
"name": "Printer",
"host": "192.168.0.xxx",
"port": "9090",
"service": "Switch",
"device": "79",
"valueSwitch": "1"
}
]
}
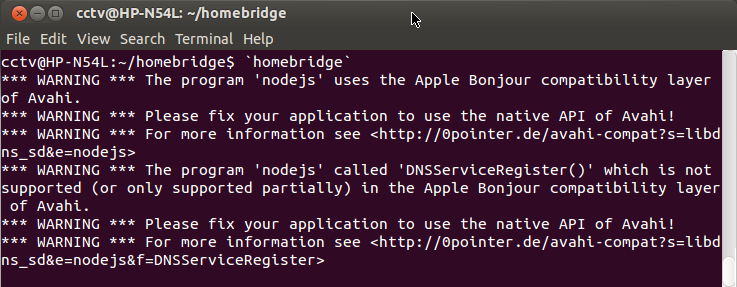
To run HomeBridge, type:
`homebridge`
You may get warning messages as per below. These can be ignored. You should however not get any error message:

Homebridge Warnings
iOS App
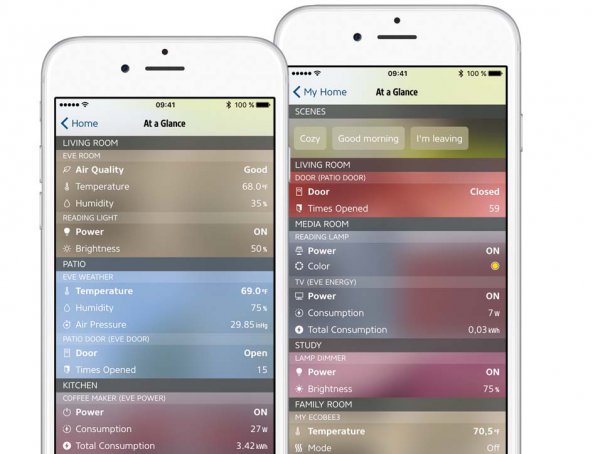
Now you need an app on your iOS device. You can use Eve By Elgato Systems
https://itunes.apple.com/gb/app/elgato-eve/id917695792
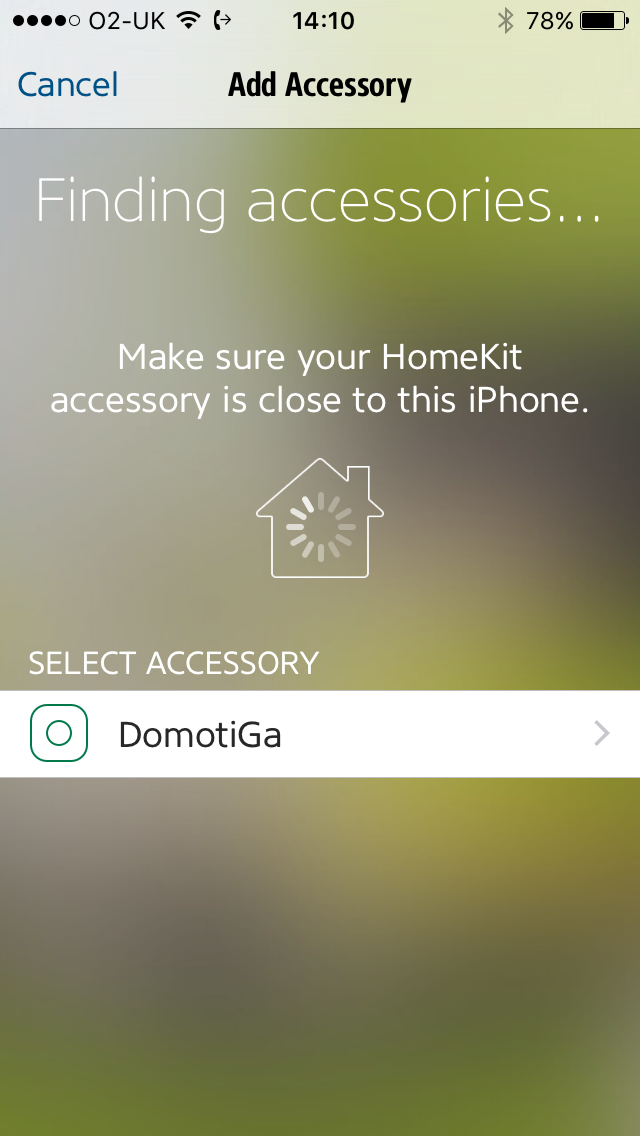
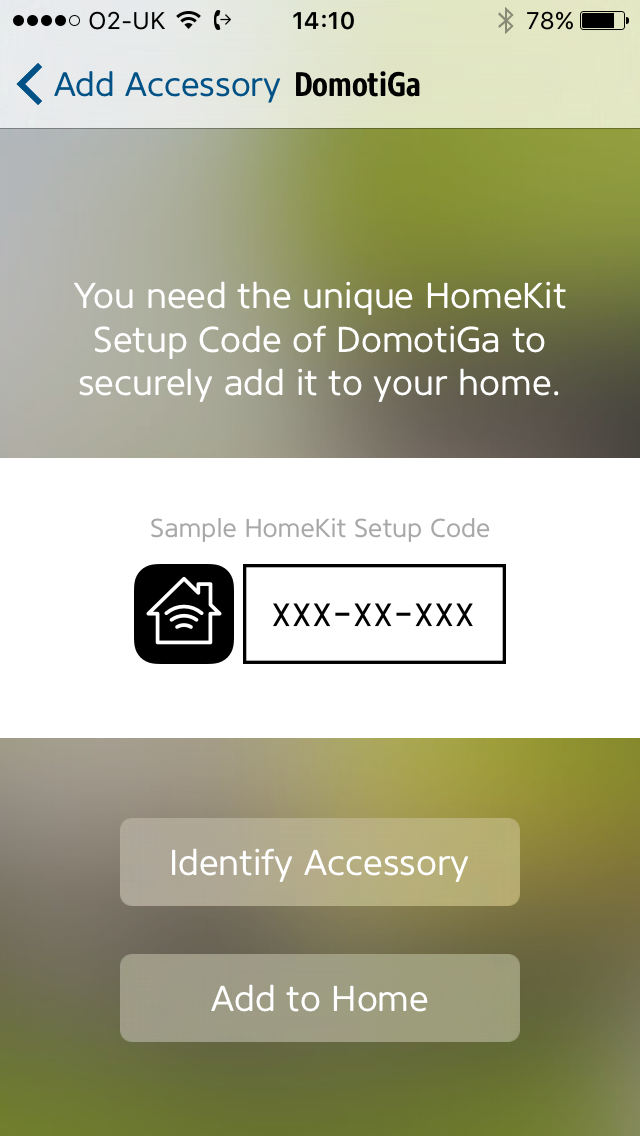
In Eve, simply add an accessory:

Eve – Add Accessory
(You’ll probably be asked to create a home the first time, call it anything you want, like “Home”.)
Tap on “Identify Accessory”:

Eve – Identify Accessory
Enter the code as per your config.json file, in this example: 031-45-154
You’re set up !
Hold your home button and ask Siri all kinds of stuff. On of my favourites is “Set Mood Scene Movies on” which sets my lighting accordingly 🙂
Troubleshooting
If you cannot see your accessories (DomotiGa device), try the following steps:
- Stop HomeBridge
- Delete the “Persist” folder in your home directory inside .homebridge.
- Try and change the username in your config.json file (anything else)
- On your iOS device, go to Settings > HomeKit and delete your Home
- Close Eve (double press the home button and swipe Eve up)
- Restart HomeBridge
- Restart Eve
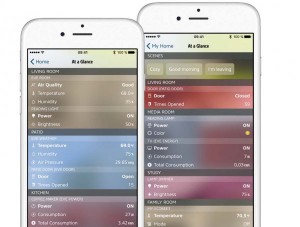
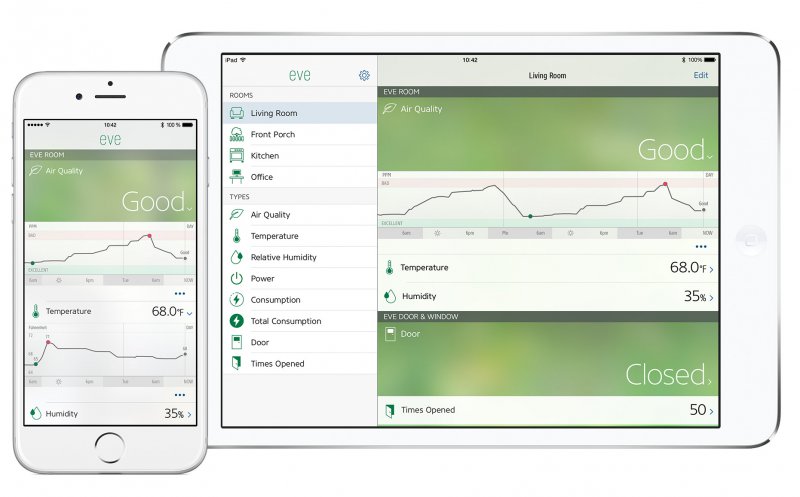
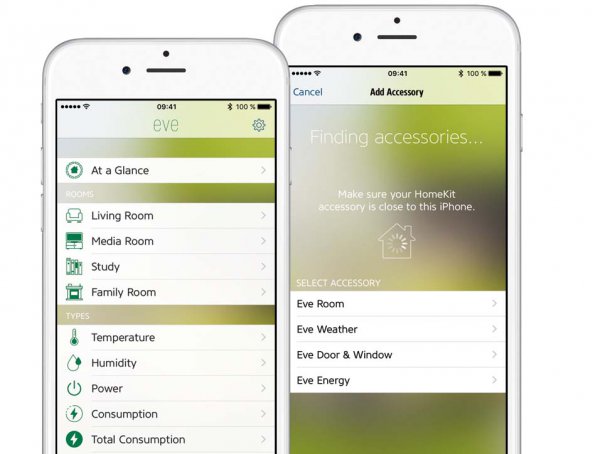
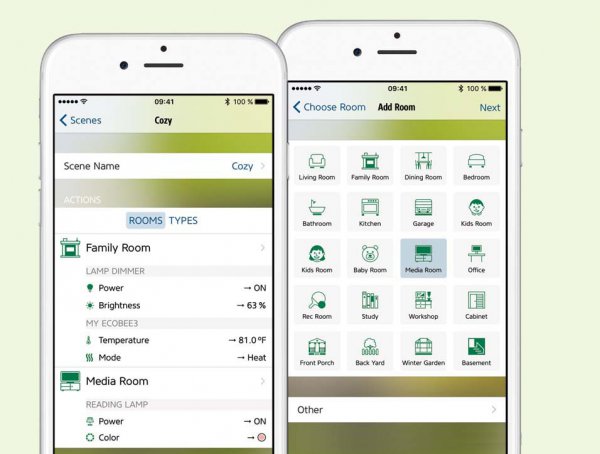
Here are a few screenshots from Elgato’s website on what Eve can do: