I’ve been using a breadboard on top of my Raspberry Pi for a while now to connect components to the GPIO ports.
Pros:
- Easy to test
- Easy to make changes
- Easy to reset individual components by removing their power supply
- Not “set in stone”
Cons:
- Fragile, jump cables can be easily disconnected
- Not secure, cables, resistors and other components could be pushed against each other, creating short-circuits
- Not aesthetically pleasing
The not aesthetically pleasing is probably best described by a picture:
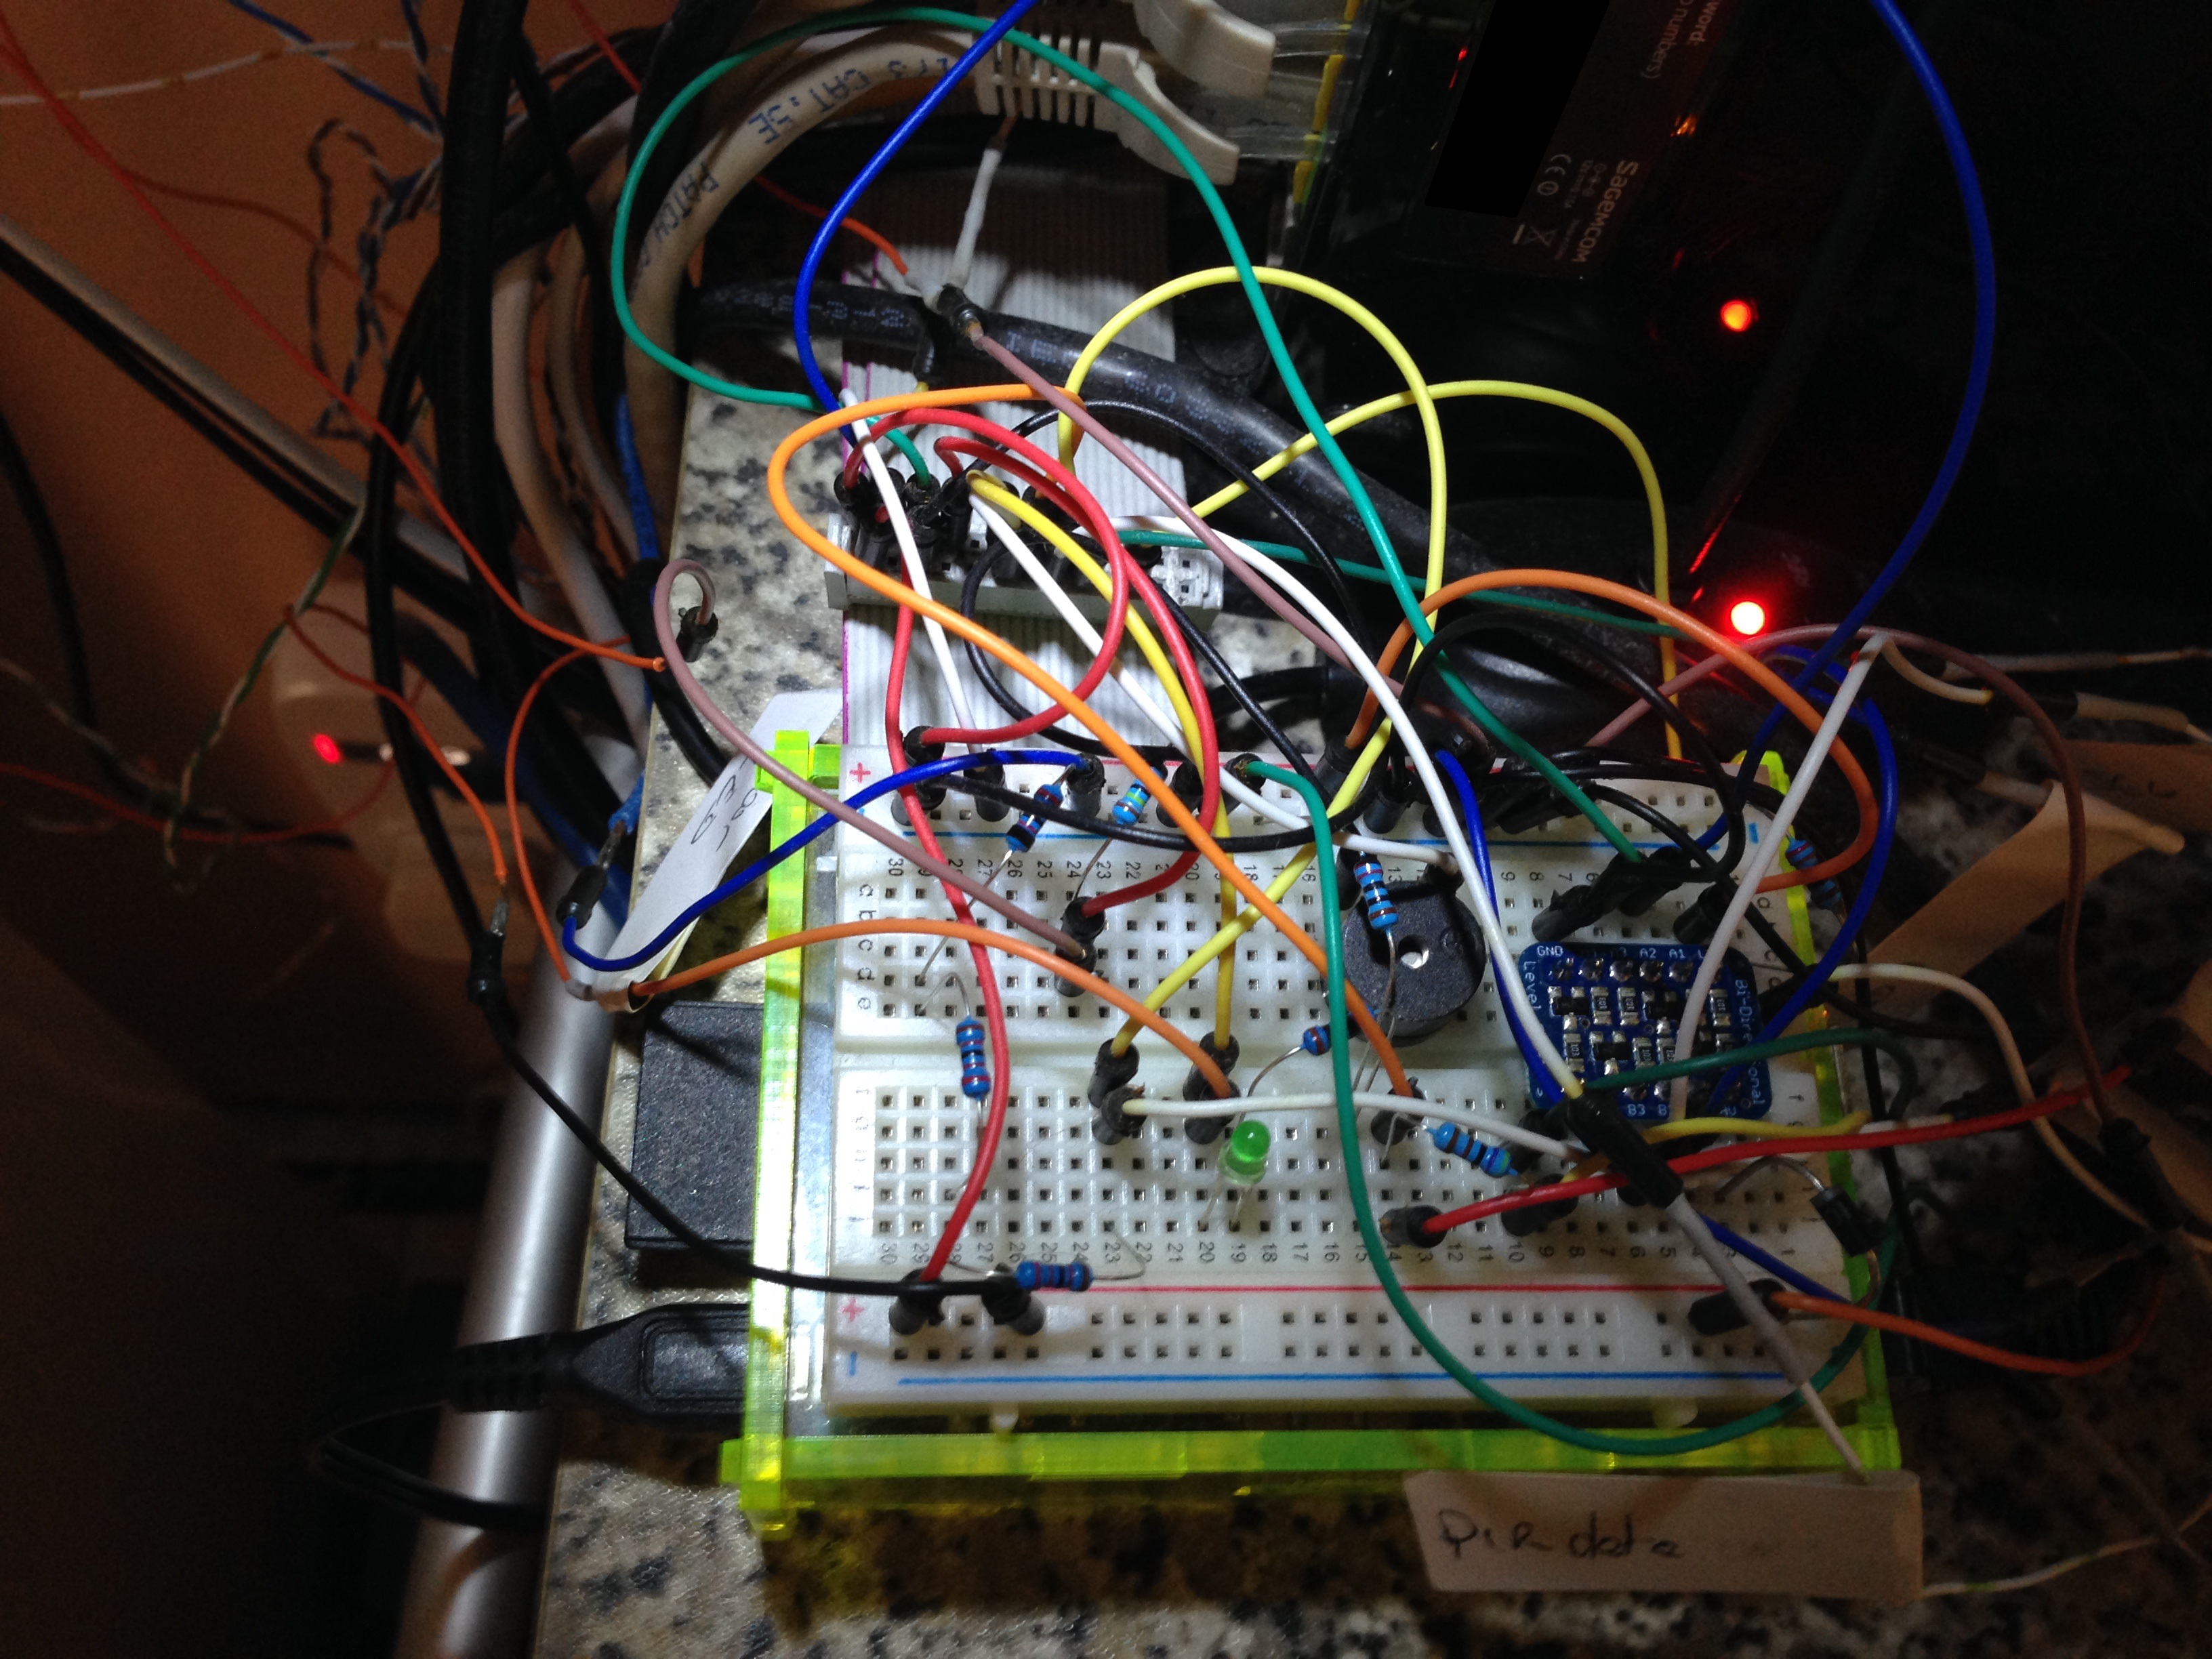
Breadboard On Pi
I’ve decided it was time for me to become confident and stop the try and error approach. I’ve not changed the setup / layout in months now and use many components integrally as part of my home automation system like PIRs to control lighing. I’ve therefore purchased a Humble Pi from HobbyTroni
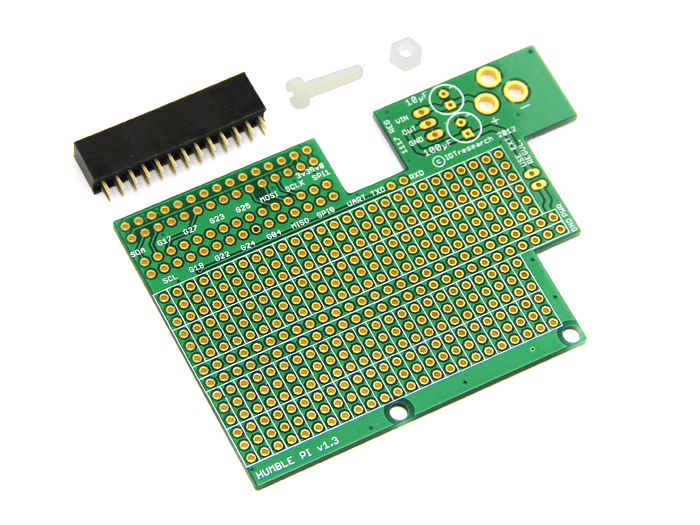
Humble Pi Stage 1
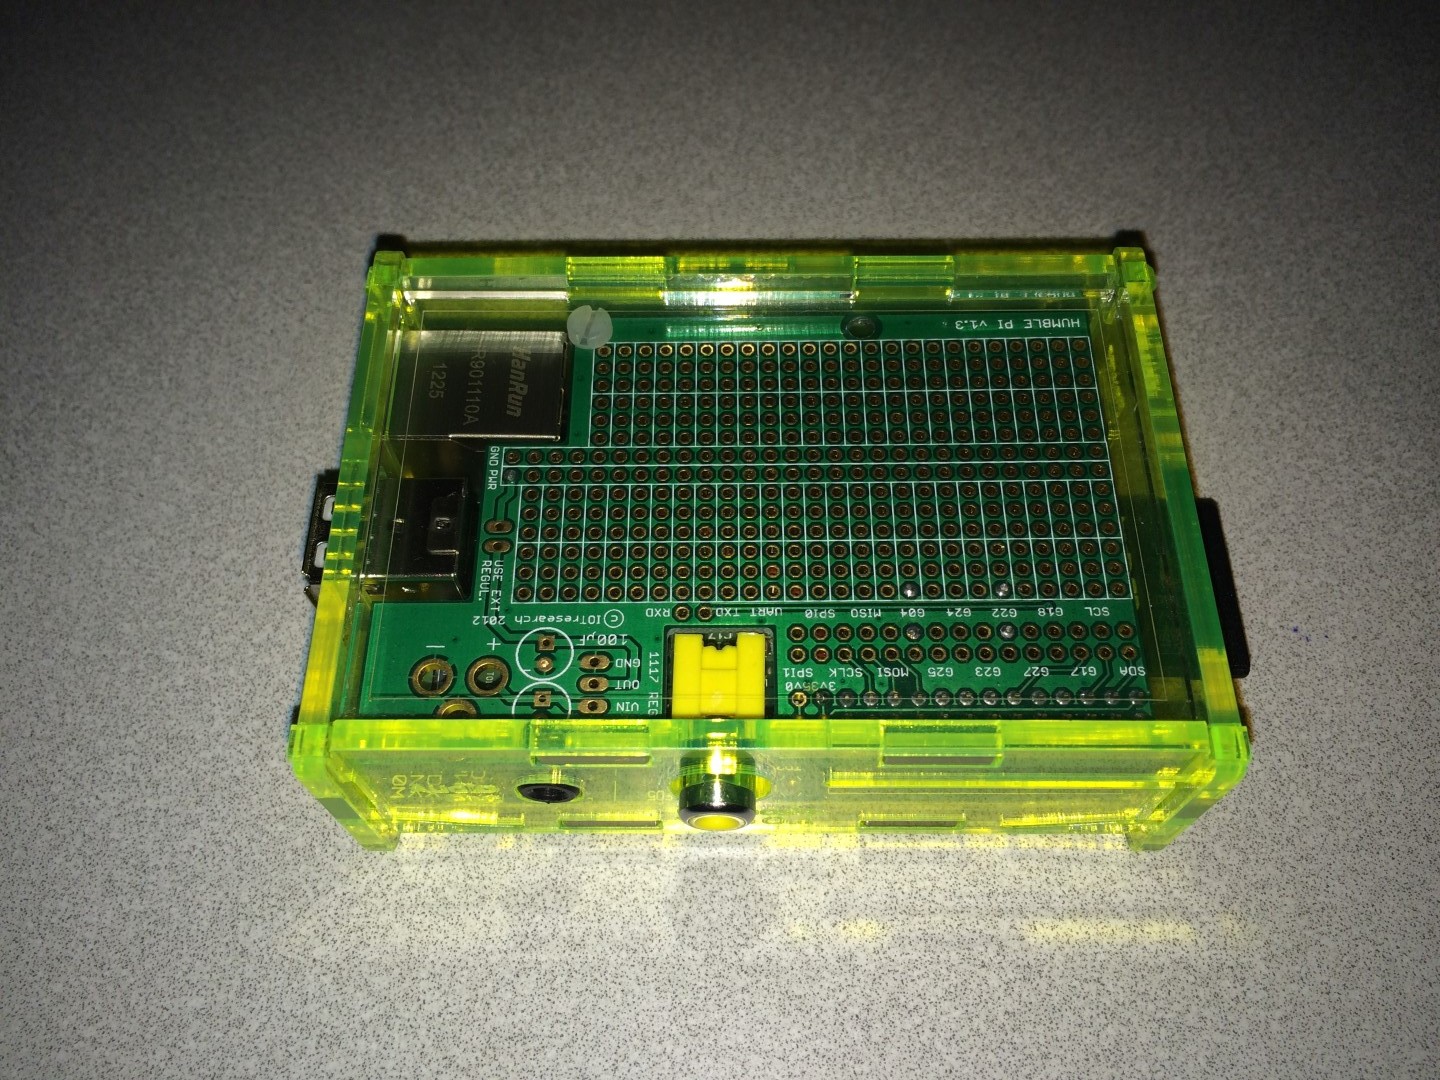
the board came as a kit with all parts separated. I’ve already soldered the header socket and made minor, direct connections to some of the GPIO pins in preparation to the upcoming components:
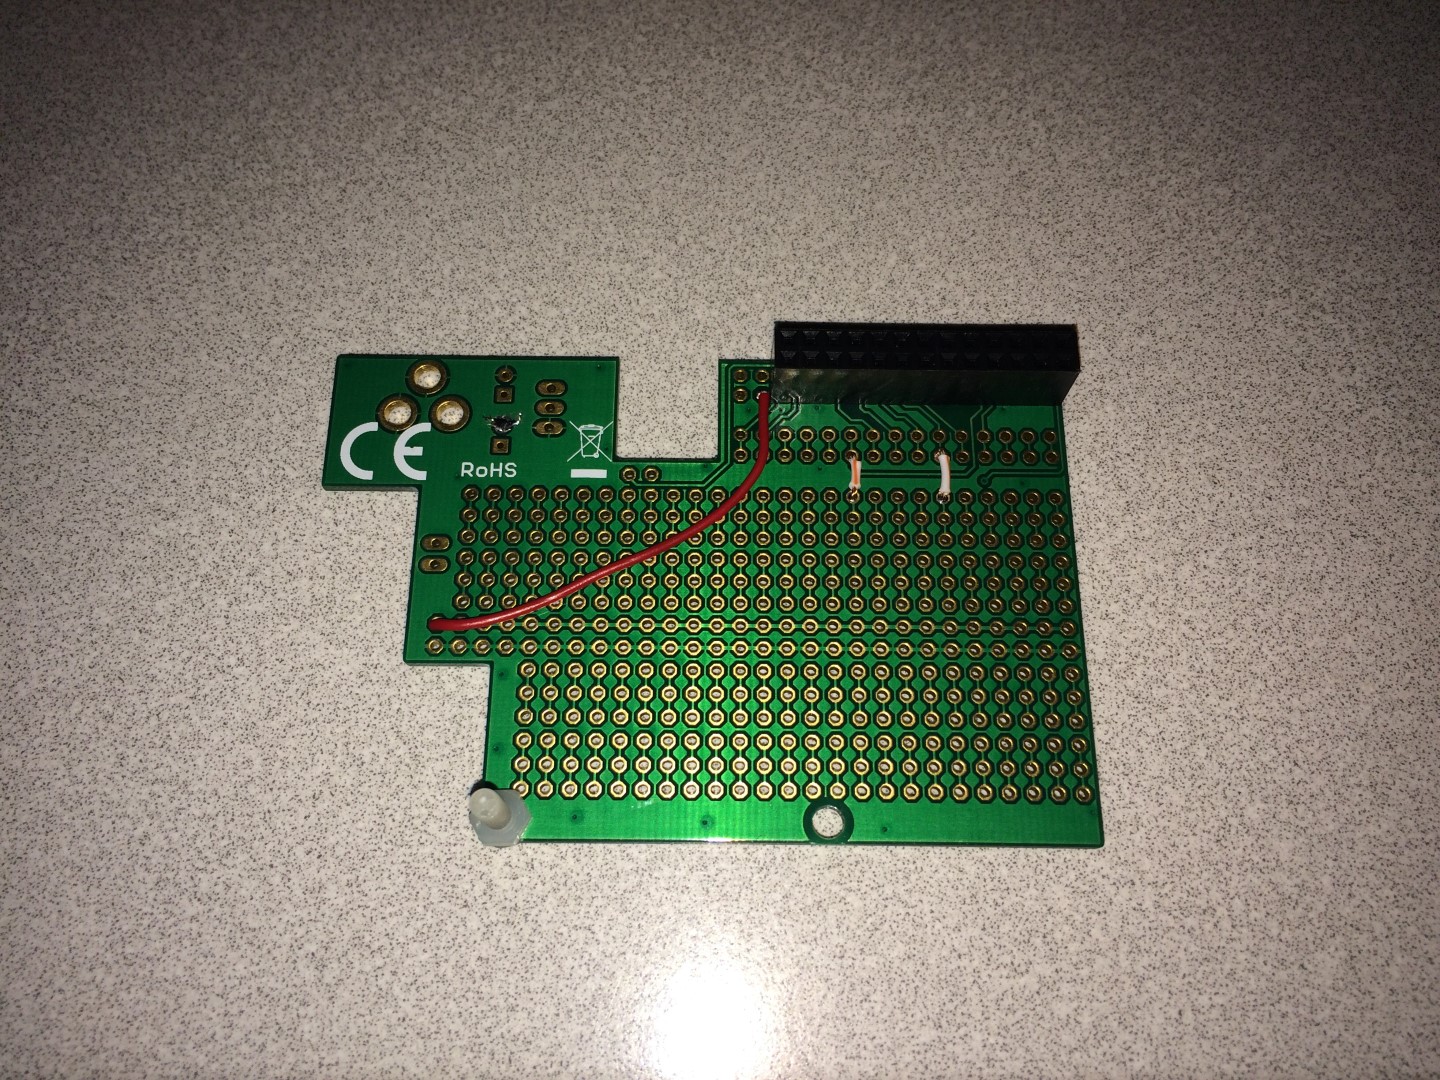
Humble Pi Stage 2
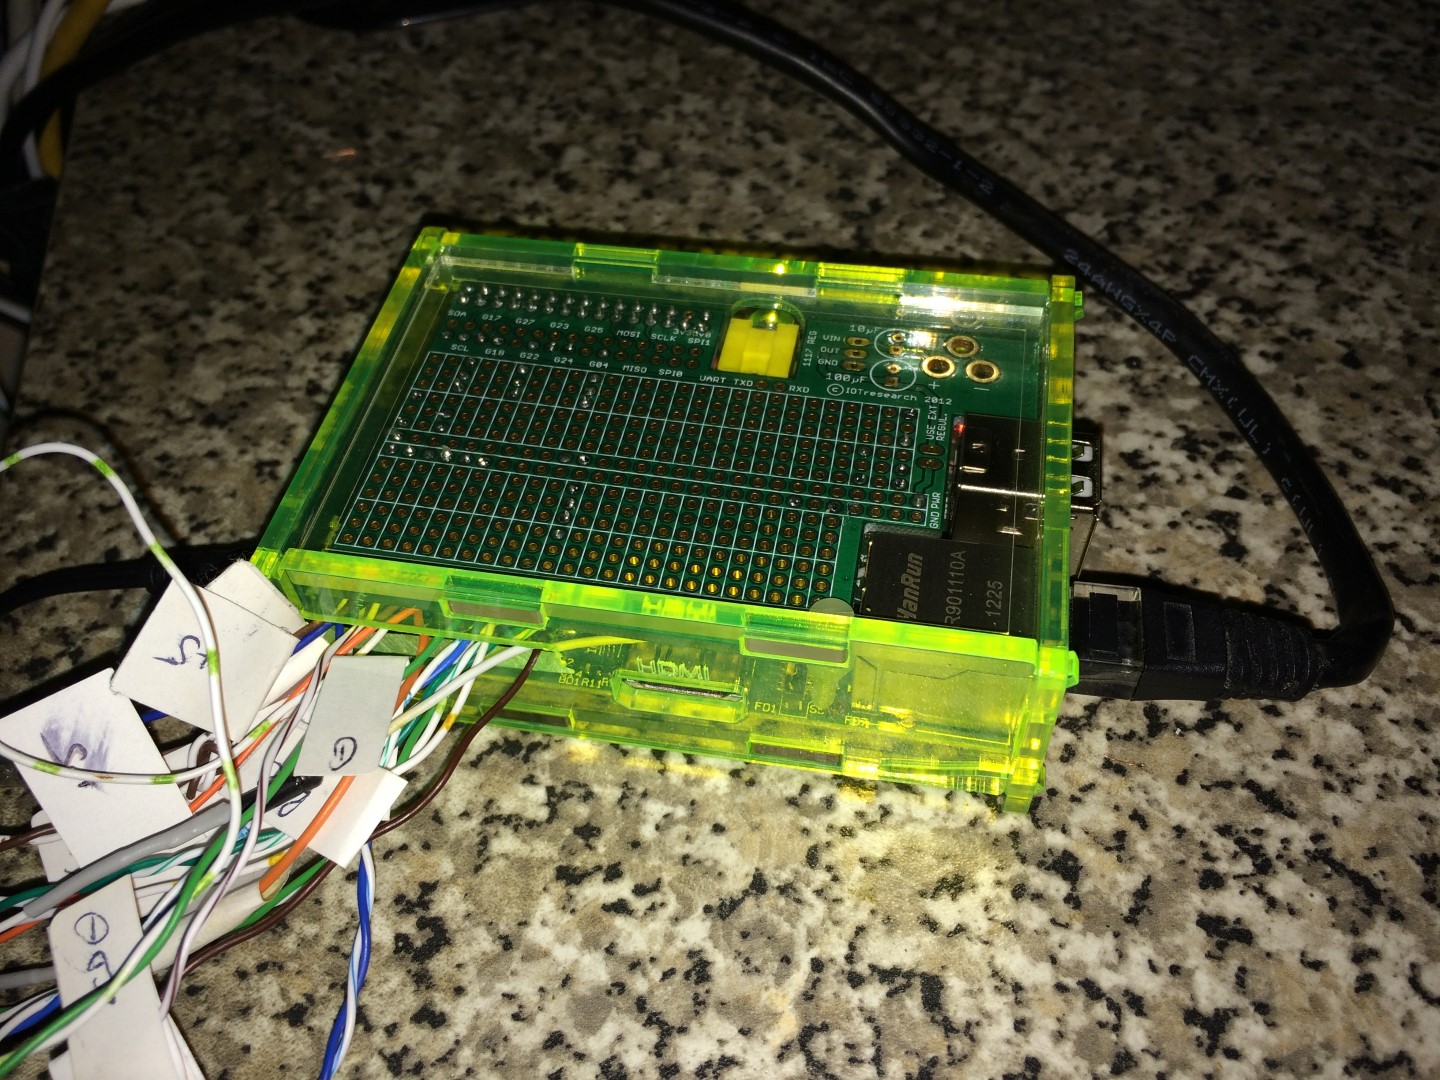
And I’ve checked that it fits in the case. Actually looks pretty cool. Will have to decide how to get the wires to get through though
Humble Pi Stage 3
The other thing I’d like to do is to ensure I can keep the drop cover on to protect the Pi against accidental damages, but I still need all my sensor wires to get in. I’ve therefore sawn a slot off to allow for this:
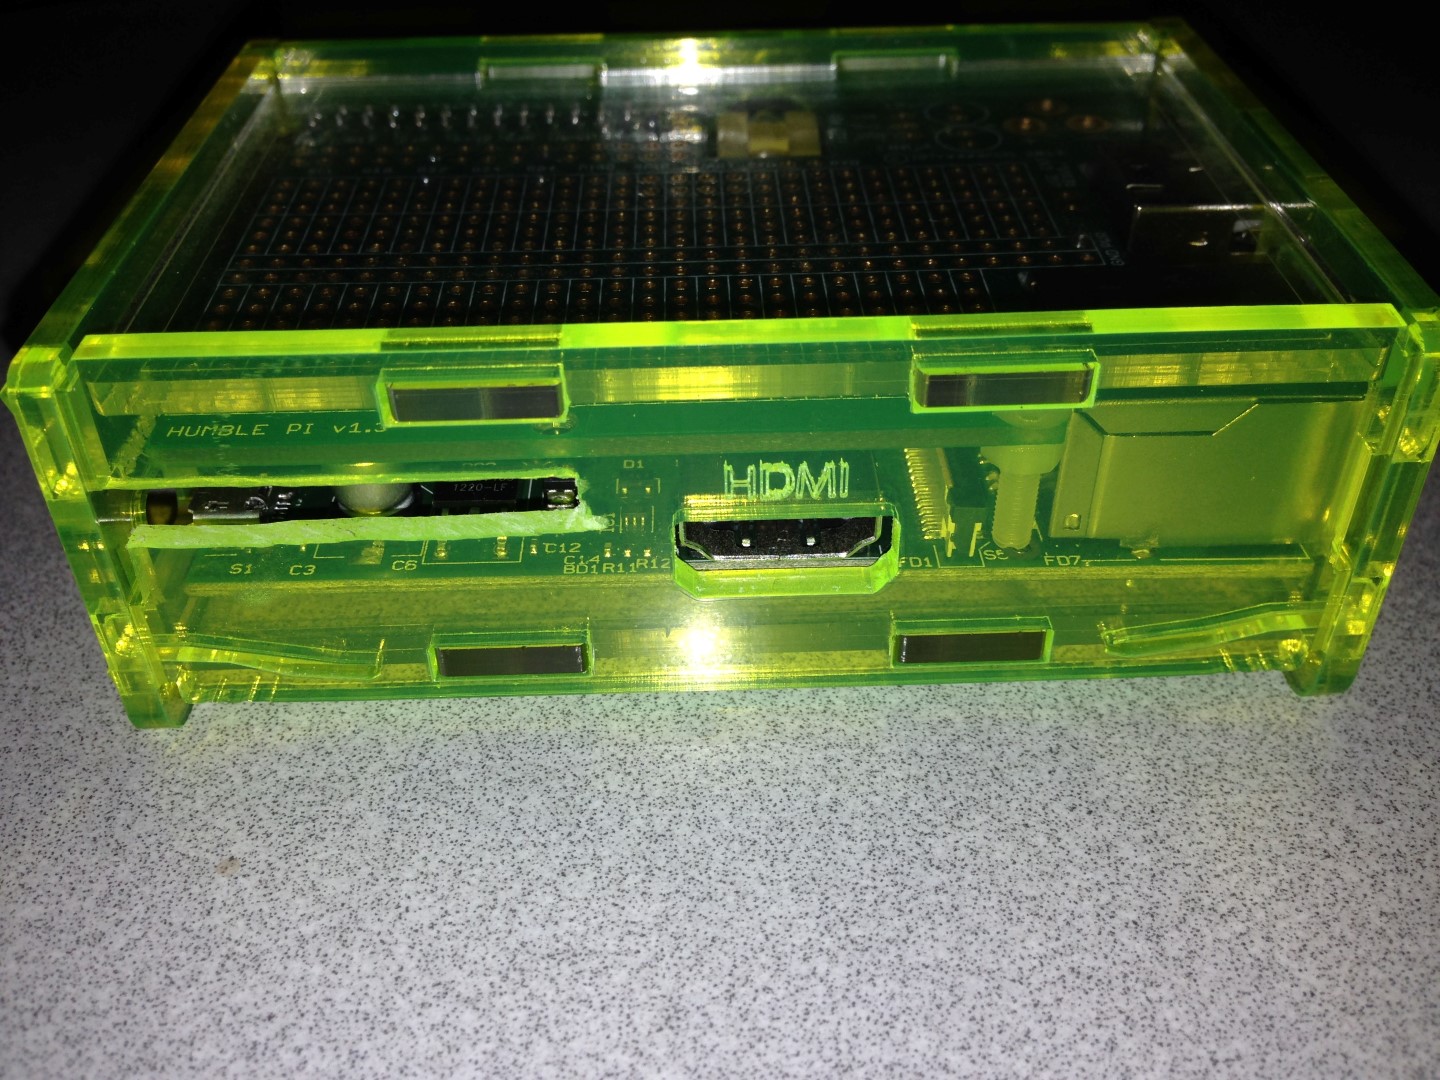
Pi Case with additional slot
Now I need to complete the soldering of all the components. I’ll post a picture when I’ve finished.
[3rd December 2014]
I’ve finally done it! No more messy breadboard, it’s all nice and tidy now 🙂
Humble Pi Completed